The holidays are coming and what better way to show your friends and family that you really appreciate them, than offering them a handmade gift! I love handmade gifts; they are special and made with love. I didn`t have time to make everyone a handmade gift this year, but I made my own gift tags. It is easy, it costs nothing and the most important- it's from the heart and it’s recycled!
Let me show you how it’s done!
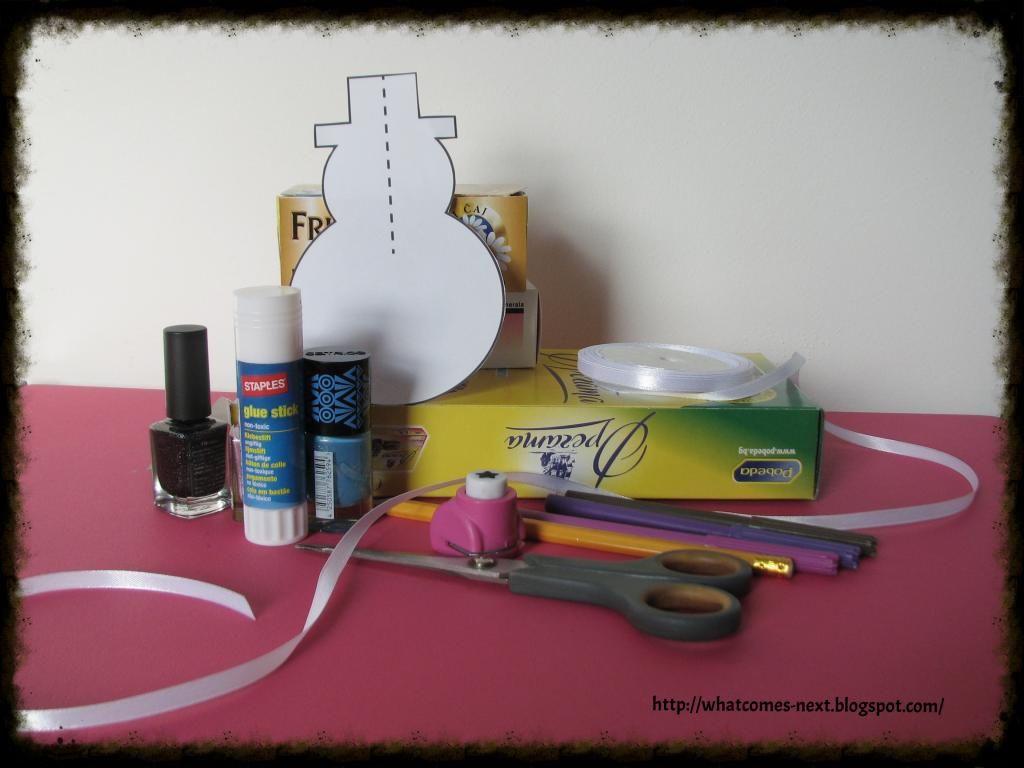
What you need:
- Old paper boxes (from cereal, tea, biscuits or whatever you can find);
- Glue (a am using a glue stick);
- Scissors;
- Cutting templates and a printer;
- Pencil;
- Ribbon;
- Decoration punch or just a regular paper punch;
- Nail polish/colorful pens/glitter/buttons/any decoration materials you find.
How much time does it take? – It’s quick. It depends on how detailed you want your gift tag to be!
Purpose: You can use the tags, also as ornaments to decorate your Christmas tree!
STEPS
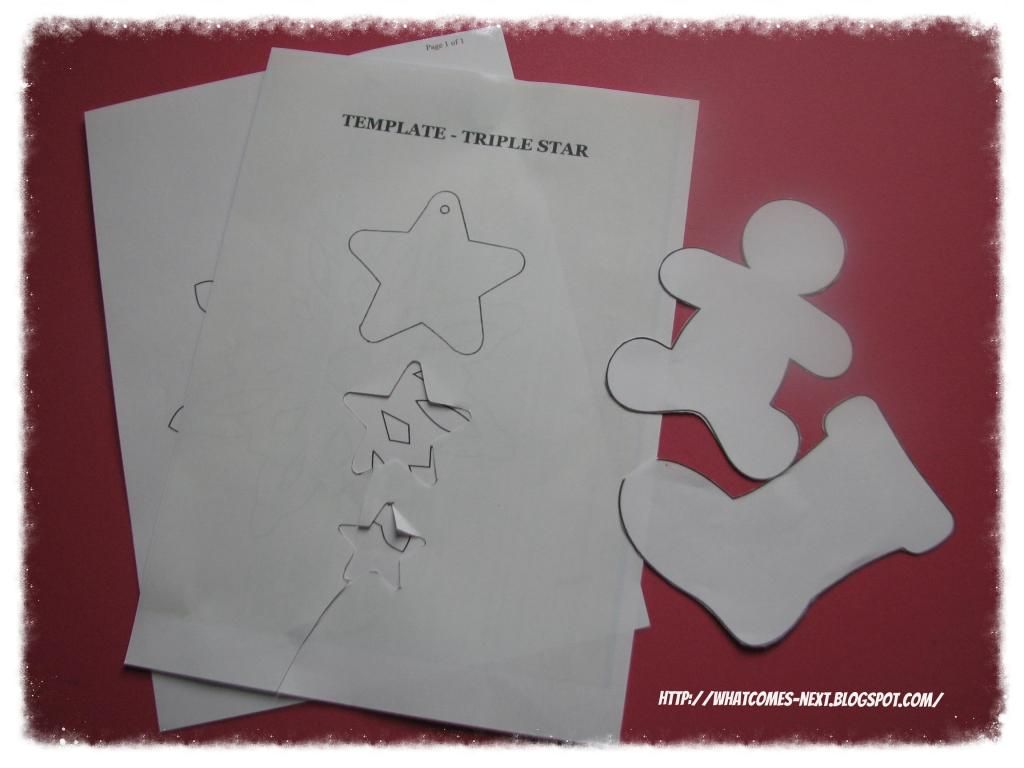
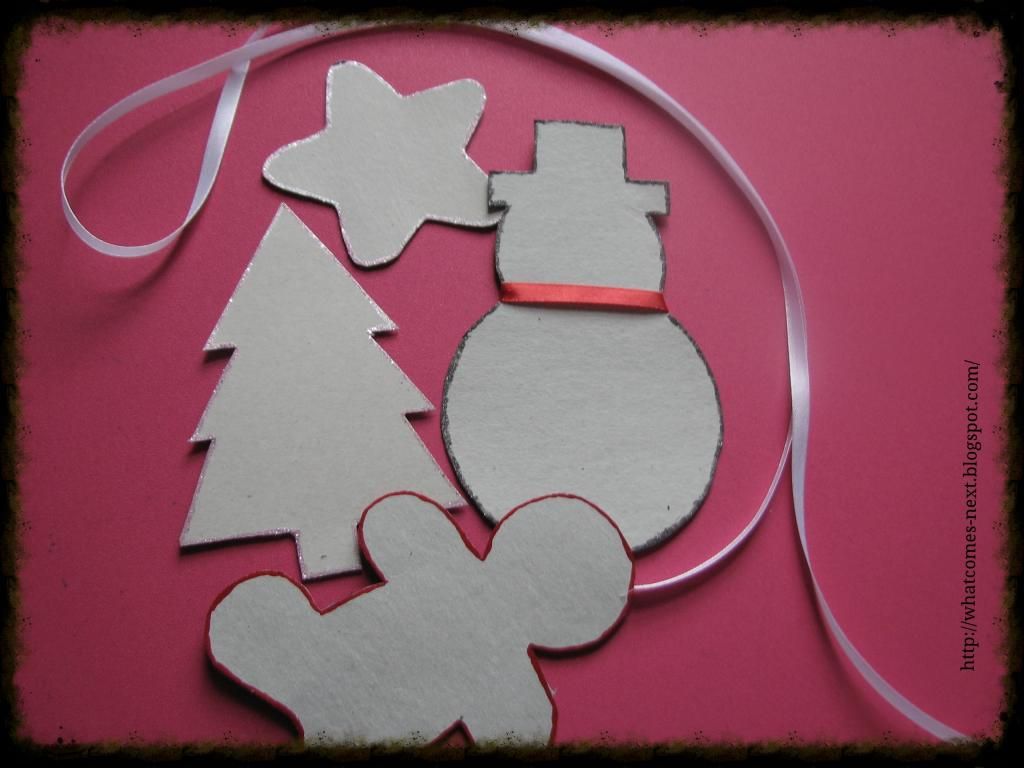
1) Find templates that you like. What I did is just googled Christmas Ornaments Templates, I looked through the results and printed out the ones that I liked. You can check out those ones. Print them out and cut the forms out.
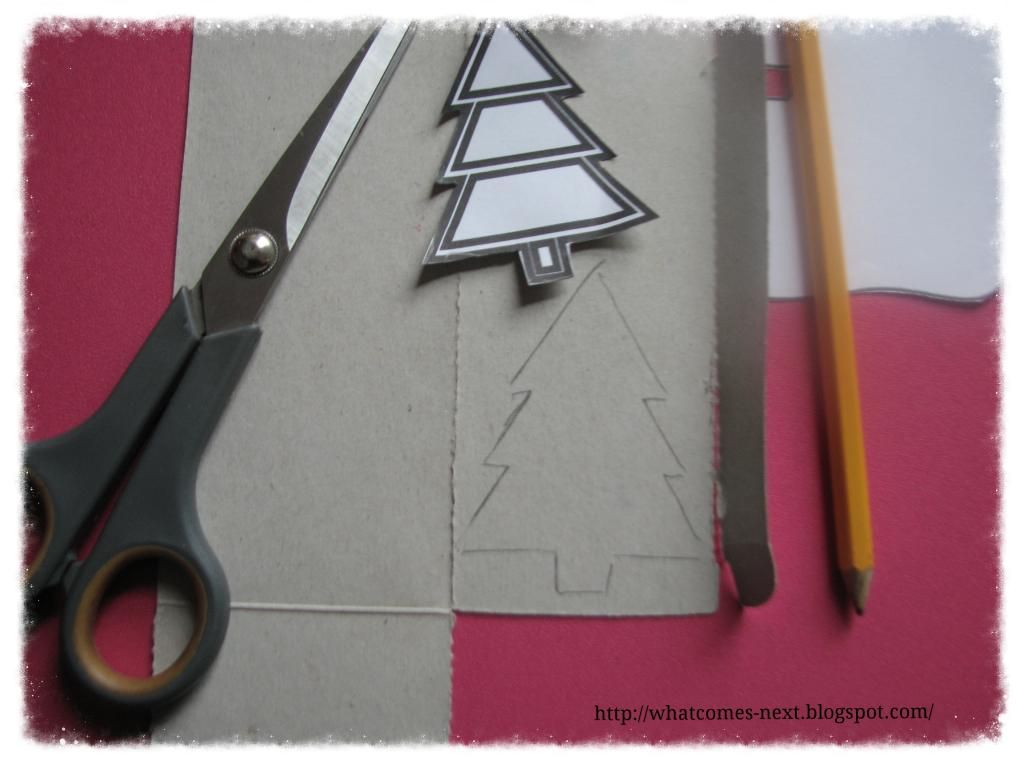
2) Break the paper boxes apart and copy the ornaments on the back side.
3) Cut out the different forms. You can also use a paper punch; I used a star punch to make cute little stars. You can cut circles, triangles and whatever you like to decorate your gift tags with.
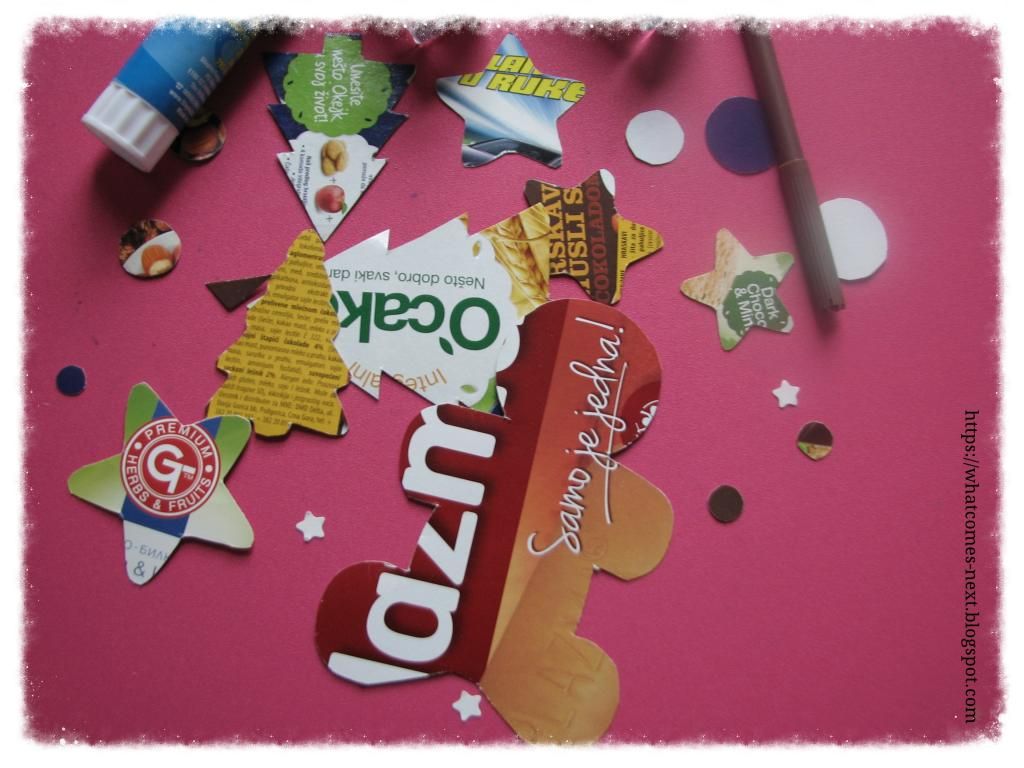
5) Decorate, Decorate, Decorate! Use your imagination and create! Before gluing everything together, I first arrange all the decoration to see how the final “product” will look like. Like this you avoid messing up the tags. Just let your imagination work and use all the decoration materials you find at home!
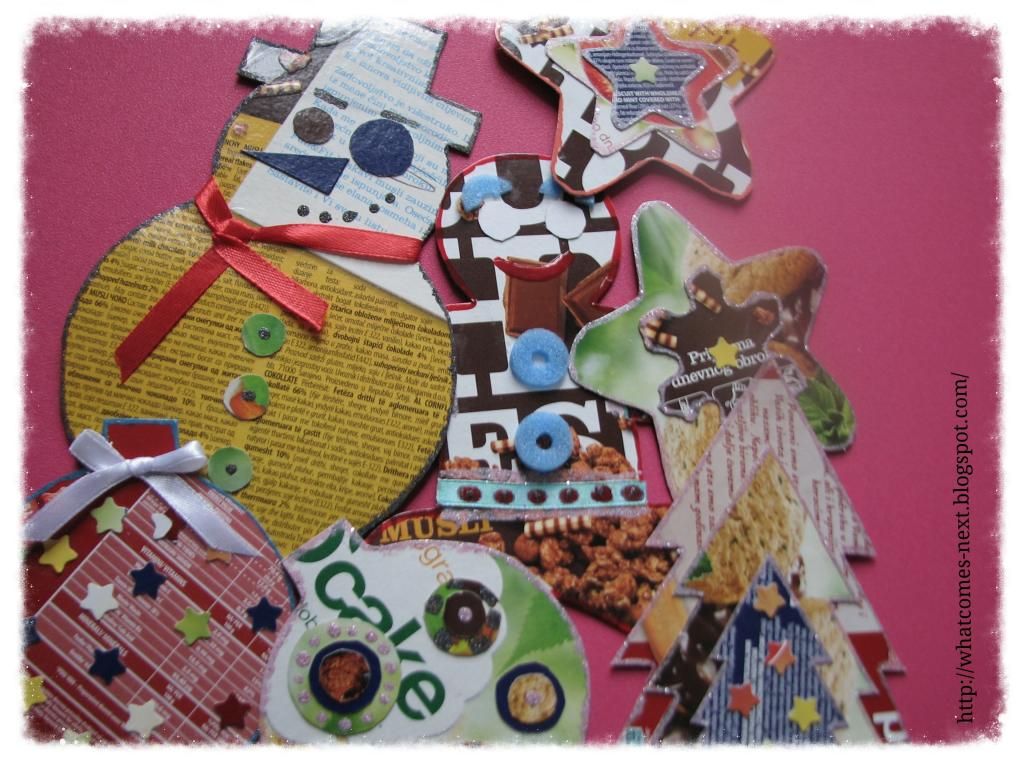
Just remember to leave the back side of the paper blank or at least leave some room for a wish and the name of the gift recipient!
6) Finally, you should do a hole for the tag’s ribbon. You can use a normal paper punch or a decoration one.
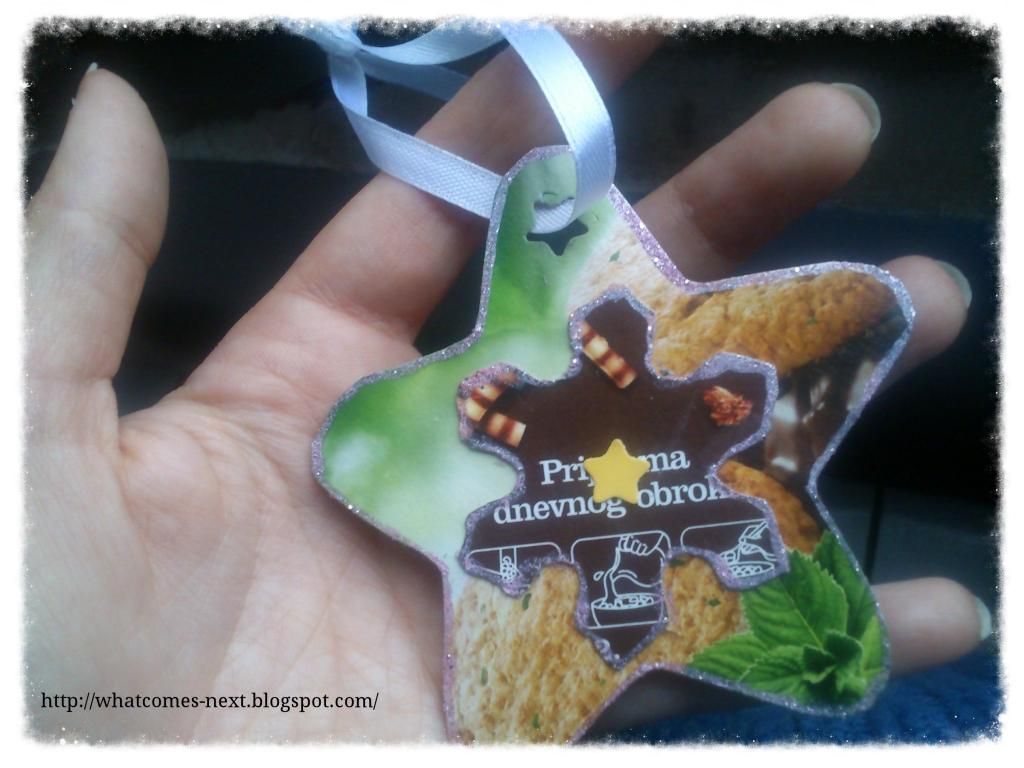
Now you have a nice gift tag, which can also be used as a decoration.
You can to this kind of tags not only for Christmas but also for Birthdays and any kind of celebrations, just choose the right cutting template for the occasion. You can also enjoy making gift tags with you children just be careful with the scissors!
Hope you enjoy and make sure to let me know how the crafting went!
Enjoy the holidays!
Venn